Exporting your work
Updated on August 5, 2026
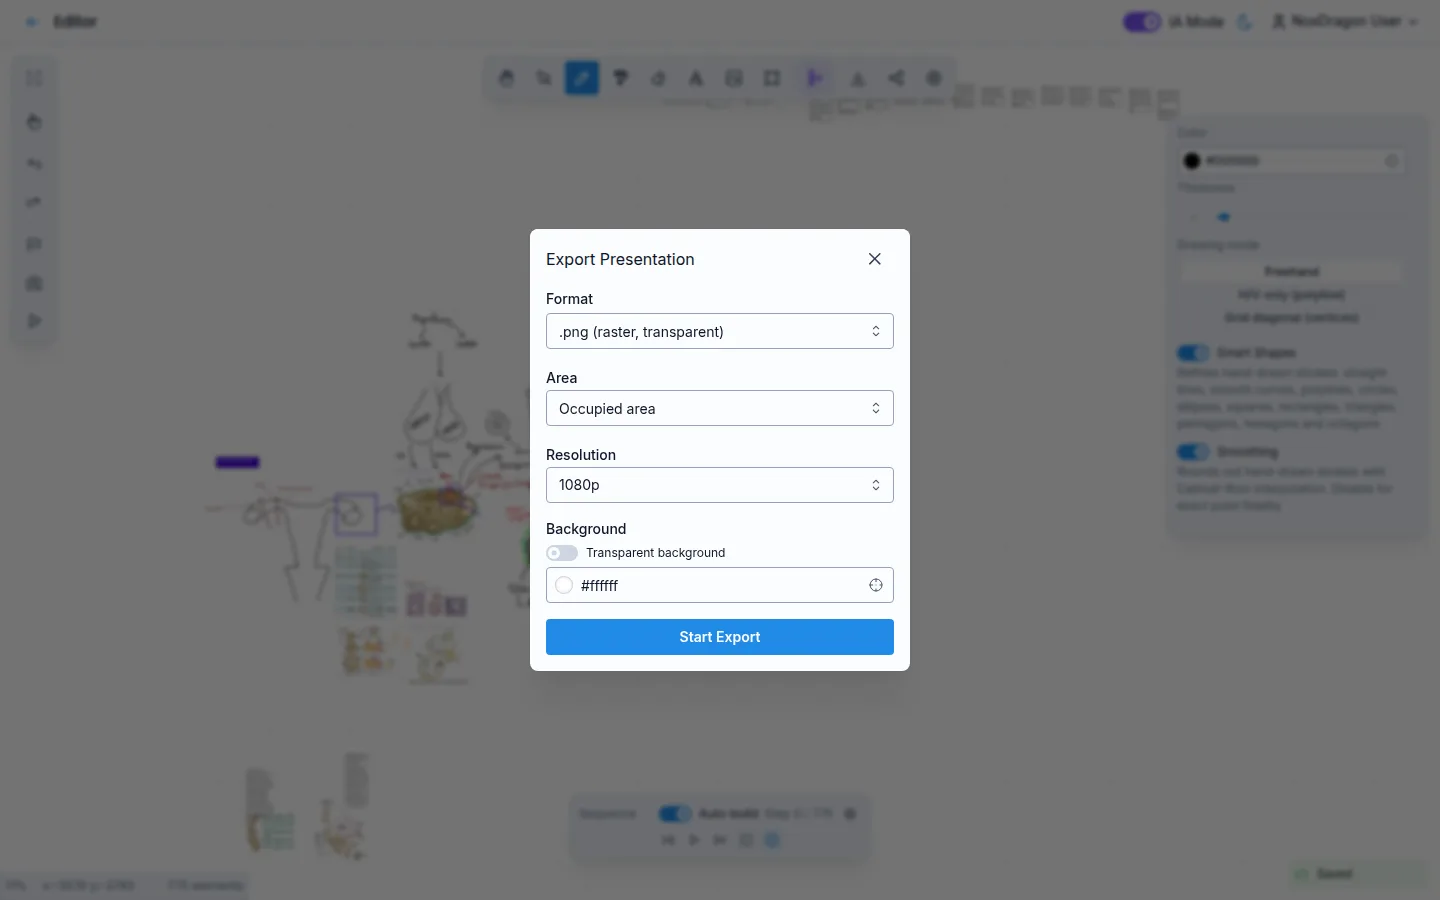
When you finish a presentation in Imagine, you can download it in several formats to submit it, upload it somewhere else, or keep a backup. Exporting does not affect the copy stored in the cloud — your presentation stays intact and you can return to it at any time.
Where to start an export
There are two entry points:
- From the editor — click Export in the top toolbar. The export dialog opens with all options available.
- From the home screen — open a presentation's menu and choose Export presentation. This downloads the
.imginfile for that presentation directly, without opening the editor.
What gets exported
By default, the dialog exports the Occupied area: everything on the canvas, with a small margin around it. To export only a portion, change the Area selector to Area to delimit and use the Delimit button to draw the exact rectangle with your mouse.
How to export, step by step
- Click Export in the toolbar.
- Choose a Format from the dropdown.
- Set the Resolution (720p, 1080p, or 4K).
- If needed, change the area or the background color.
- For MP4, set FPS and Quality.
- Click Start Export.
For image and PDF formats the download begins immediately. For MP4 the job is queued on the server and you can watch its progress in the bar shown inside the dialog. When it finishes, click Download to save the file.
If you already have other exports in progress, you may need to wait for them to finish before starting a new one.
What each case is good for
- Submitting a project — export as PNG, JPG, or PDF to attach or print.
- Publishing online — export as MP4 to upload to YouTube, a learning platform, or any video hosting site.
- Saving an editable backup — export as
.imginto reopen the presentation in Imagine later and keep editing.
Frequently asked questions
Can I cancel a video export that is already running? Yes. While the export is in progress, a Cancel button appears in the dialog.
Does the export include the audio I recorded? Only in MP4 and only if you enabled the Include audio toggle before starting. Audio is not included in other formats.
What happens if the canvas is empty? If there is no content on the canvas, clicking Start Export produces no file. Make sure you have at least one element before exporting.
Can I export a single step of my presentation? Not directly. The area selector lets you delimit a region of the canvas, but it does not filter by steps in the sequence.
Next step
- Export formats — when to use PNG, JPG, PDF, MP4, or .imgin.
- Presentation mode — play your story in full screen before exporting.
- Sharing — share the presentation with a link without downloading it.